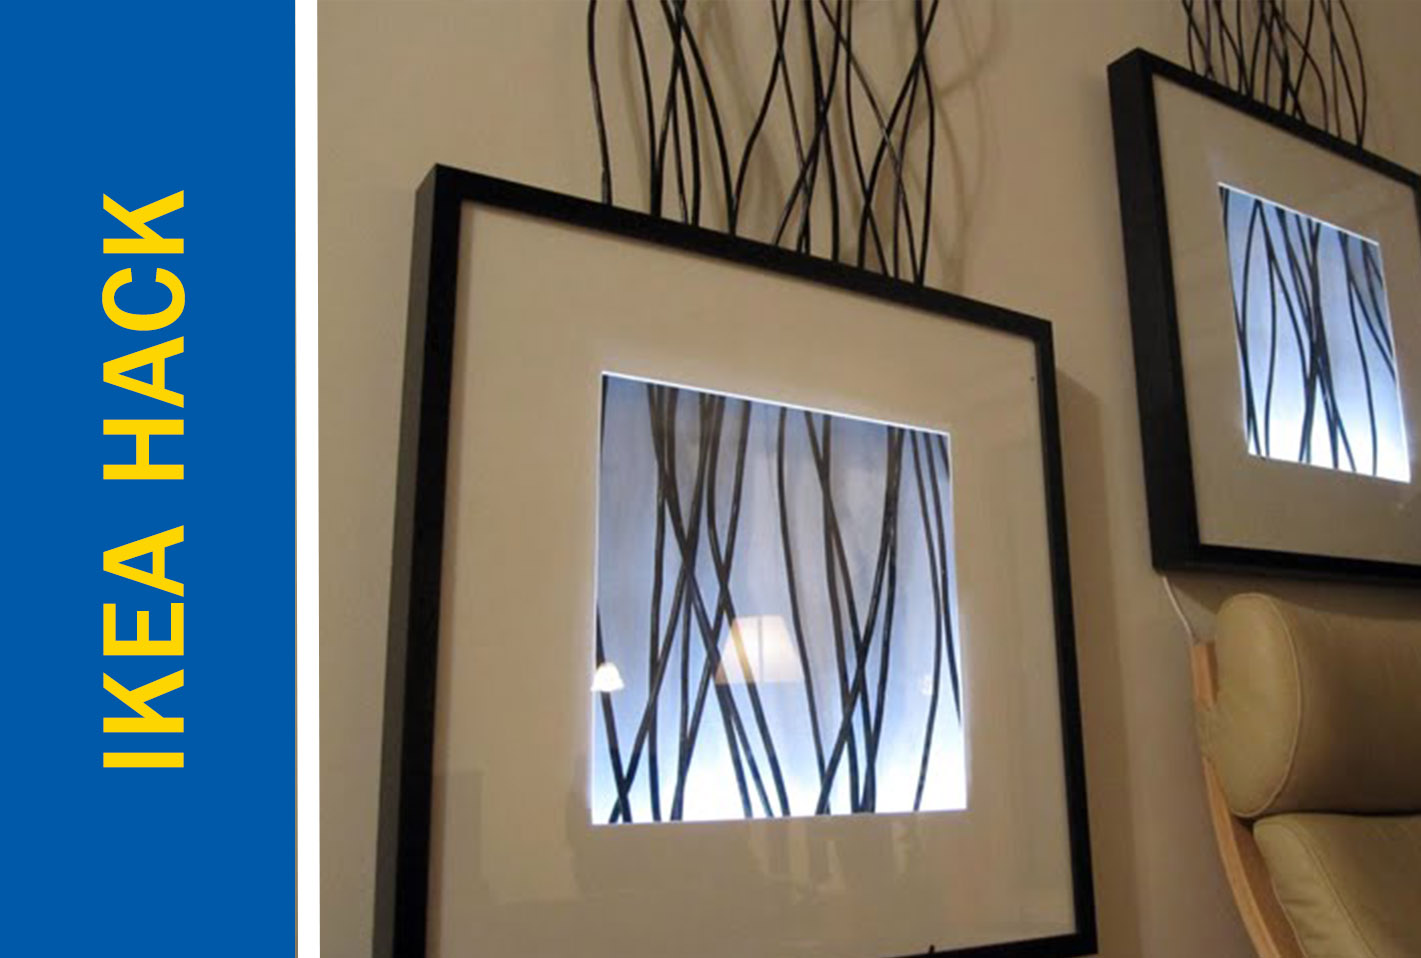
Backlit photos have better colour and look pretty cool at night in your apartment. Also, they’re not something we think of in terms of our apartment decor. Here’s how to DIY your own backlit picture frame using stuff from Ikea, mostly.
The parts. You’ll need:
Do it.
First, take apart the Ribba photo frame by removing the backing from it, and the glass as well. Get the plywood cut so it will attach to the back of the frame, and essentially extend the inside of the frame, backwards. Get it?
OK, with that done, cut the backing of the Ribba frame so it fits inside (or outside) the frame extension you just made, and cut a small corner out. Before attaching the backing, you’re going to put the photo in the frame, then put the lights in there. Now put the backing on, but let the plugin part of the string of lights hang out the back. Use the wood glue to attach the backing on.
Hang it on your wall or sit it on your desk and plug it in.
Source: Ikea Hackers