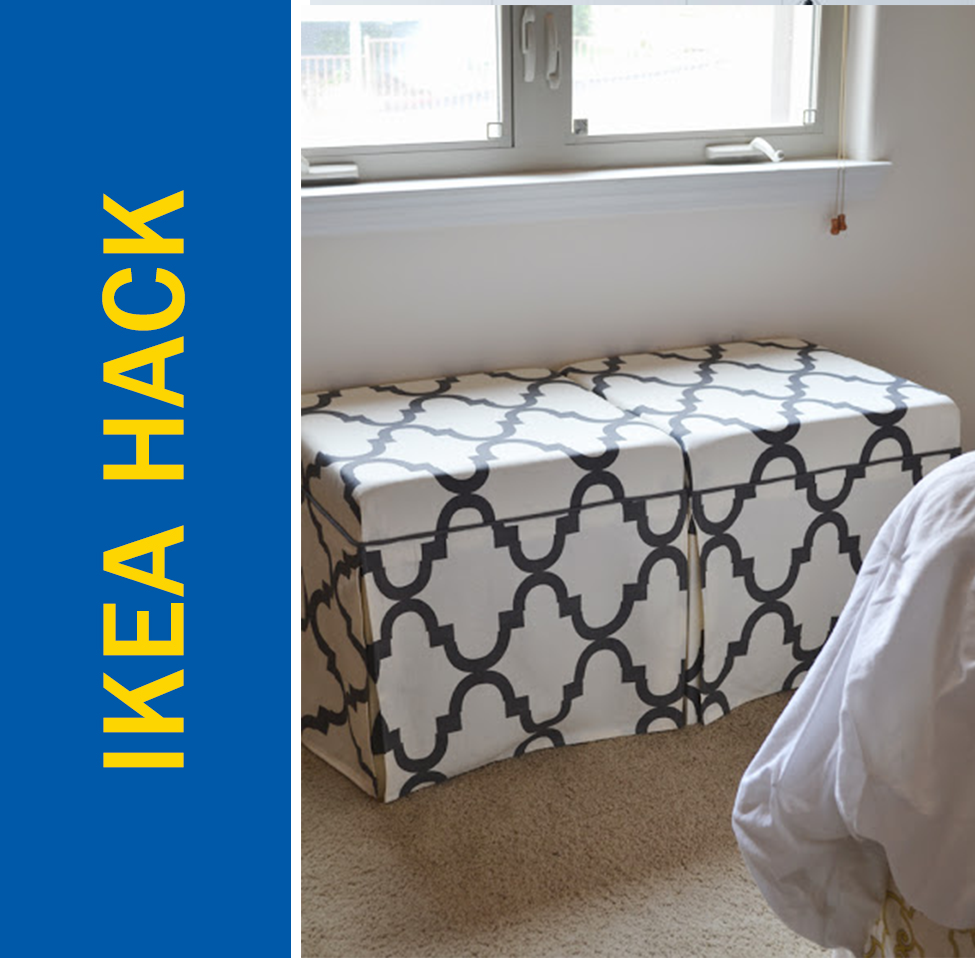
Since storage space is always hard to come by in our Toronto apartments, finding creative ways to store things is key to keeping your place tidy and organized. This Ikea hack uses two very budget-friendly side tables and transforms them into functional storage that doubles as furniture. Books and other items can go under the tables and stay hidden by the panels, all for about $100.
The parts. You’ll need:
- Lack side table x 2 – $9.99 each
- About 4 yds of fabric, try shower curtains – approx. $30
- 75” foam – approx. $20
- Batting – approx. $20
- Cording long enough to encircle both tables when placed together
- Glue
- Sewing machine (rent one!) with thread, scissors, etc.
- Xacto knife
- Staple gun
- Iron
Do it.
Measure out the foam by flipping the Lack table upside down and using the knife to cut around the edge of the table top. Do this for both side tables, or just cut one piece that’s double-long so there’s no seam in the top of your ottoman. Glue it down so it won’t move around. Next, cut a piece of fabric and of batting that’s large enough to cover the top and sides of both Lack tables, including the foam. It should extend to just below the base of the table top. Use the staple gun to attach the fabric and batting together to the edge of the tables, stretching as you go so the fabric is nice and tight. Avoid the corners until after.
To finish the corners nicely, cut off any excess batting so it won’t show. Fold the fabric over itself nicely and tightly, kind of like a present, then staple it into place.
Now, wrap the legs of the tables with fabric. Put the seams to the inside of the ottoman so you won’t notice them, and wrap fabric around the feet, folding it like a present there, too.
Attach a cording around the ottoman, about one inch from the base of the top. The cording could be an actual rope or cord, or excess fabric folded in half. Finally, make the panels, which will hang to the floor and be tucked right under the cording. Measure, cut and sew the edges so it looks nice, leaving some excess at the top to allow for stapling. Fold the panels over at the top and iron the top edge so it lays flat. Edge the panel right underneath the cording and staple it into place. Use a needle and thread to finish off the corners. Ta-dah!
Source: Sarah M. Dorsey Designs