https://www.pinterest.com/pin/181481059960737082/
Source: http://www.instructables.com/id/Build-a-Closet-Office/step13/Finish-your-office/
So first, a fact: More people in Toronto are working from home, whether that means that your boss is a gem and lets you work remotely, or you’re self-employed, or you just have mountains of work to do, and when you get home, you’re still working. Hey, it happens.
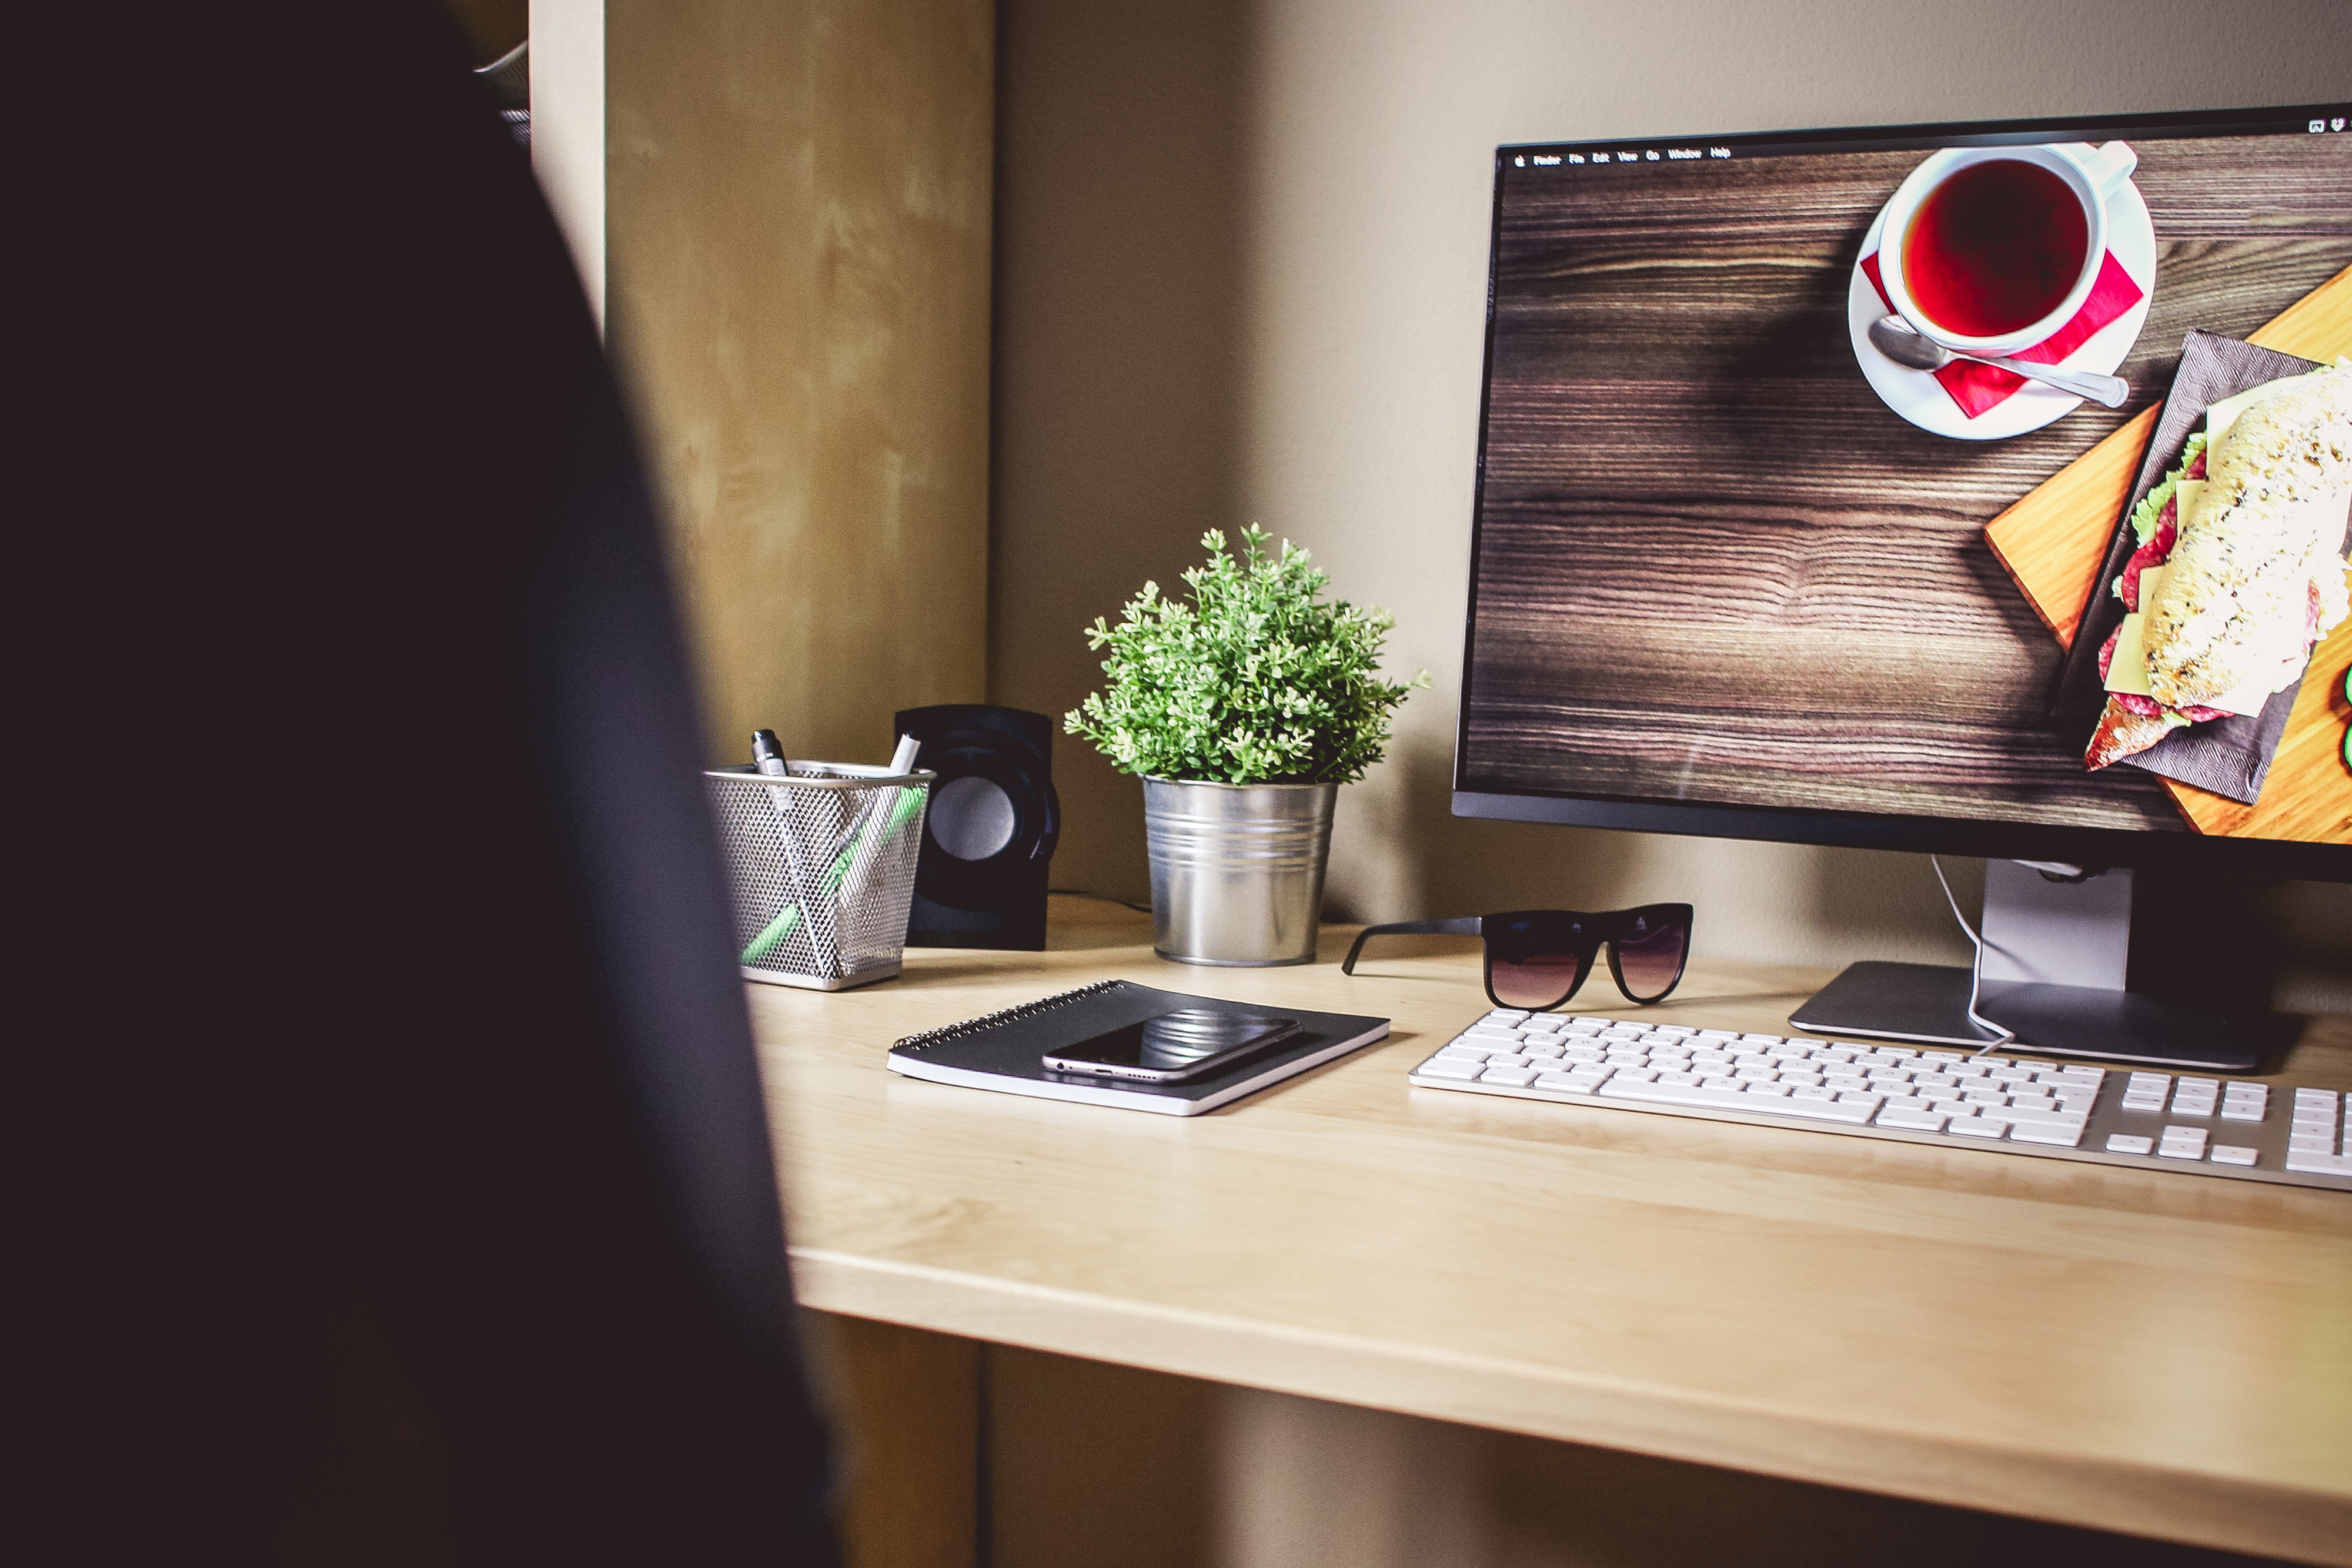
Whatever the case, working from home shouldn’t be a total chore, and one of the best ways to make working from home more comfortable is to do it from a comfy office.
Now, the predicament: You live in a teeny-tiny Toronto apartment that definitely doesn’t have an office. What to do?
You DIY it, of course! Here’s how:
- Make sure it’s going to work. You’ll need:
a closet
… that’s big enough. Many cabinets and desk units are 25″ deep, while closets are 24″ deep. Measure first!
access to power inside the closet, or within a few inches or feet
tools, including a pencil, measuring tape, hammer, various screw drivers, a stud finder, a borer (if necessary)
hardware and pieces, like cabinets, a desk top (1/8″ shorter than the span of the inside of the closet, and slightly less deep), support cleats or L brackets, screws
- Gut it. You’ll need to take out the existing pieces inside the closet, like shelves, rods, baseboards, moldings, the trim inside the door frame and the folding doors themselves. Save everything for now, in case you need them elsewhere, or to re-install later, or just in case the project doesn’t work out!
- Measure. Determine at what height your desk will sit (normally 28″ to 30″ off the floor). If you’ll be installing cabinets or filing systems underneath, measure these first to make sure your desk can be installed above them. Now, measure the thickness of the desk top. Mark a line or several points along the wall along the back of the closet to act as a guideline for where the bottom edge of the desk should be installed. Use a stud finder to mark where the studs are located in the back wall.
- Install supports. If you’re using support cleats, install these flush to the wall using the studs. If you’re using L brackets, these should also be installed into the studs. Ensure the screws you’re using are long enough to go through the cleats/brackets, and deep into the stud.
- Prep the desk. Figure out where the cables from your computer and other electronics should descend through the desk top to a power source below. Mark out an appropriate spot in the back half of the desk top, then use a borer to drill a hole that’s between 1 3/4″ and 2″ in diameter. You can use a plastic grommet to finish the hole.
- Install the desk. Hold the desk top at a serious angle in order to get it into the closet, then position it on top of the brackets or cleats. You may not have to secure the desk top if it’s properly supported by the cleats/brackets, and if it fits snugly enough into the closet. If the desk top comes flush with the inside front trim of the closet, install a 1×2″ stock between the door jambs and nail it to the front edge of the desk top for a nice, finished look.
- Install shelving. Now you can install shelving onto the wall above your desk. Make sure you’ll have enough clearance for your computer and other electronics that will need to go on the desk top.
- Install a cabinet. Whether you’re building a filing cabinet or if you’ve bought a pre-made one, you’re ready to install it under your desk. After it’s installed, you can cut the closet baseboard to fit in beside the cabinet if it doesn’t fit in behind.
- Reinstall doors. First, check that the original closet doors will still be able to open and close properly, now that your desk is installed. To do so, hold the door’s hinges against the door jamb where you’d install them, and try opening and closing the doors. If all’s kosher, screw the door hinges onto the door jamb, then attach the hinges to the doors.
Done! Now take pics and brag about your DIY project to friends and family.